- All
- Product Name
- Product Keyword
- Product Model
- Product Summary
- Product Description
- Multi Field Search

Views: 288 Author: SAAFI-Kitty Publish Time: 2025-07-03 Origin: Site


Content Menu
● Step-by-Step Guide to Sharpening a Kitchen Knife
>> Step 1: Prepare the Whetstone
>> Step 2: Determine the Angle
>> Step 3: Start with the Coarse Grit
>> Step 5: Move to the Fine Grit
>> Step 7: Clean the Knife and Whetstone
● Tips for Effective Knife Sharpening
● Advanced Knife Sharpening Techniques
>> The Circular Motion Technique
Sharpening a kitchen knife is an essential skill for any cook, whether you're a beginner or a seasoned chef. A sharp knife not only makes food preparation easier but also enhances safety in the kitchen. In this comprehensive guide, we will explore how to sharpen a kitchen knife using a whetstone, including techniques, tips, and best practices to ensure your knives remain in top condition.
 ## Understanding Knife Sharpening
A sharp knife is crucial for efficient cooking. Dull knives can lead to accidents, as they require more force to cut through food, increasing the risk of slipping and causing injury. Regular sharpening helps maintain the blade's edge, ensuring clean cuts and a safer cooking experience.
A whetstone, also known as a sharpening stone, is a flat, rectangular piece of abrasive material used to sharpen knives. Whetstones come in various grits, which determine how coarse or fine the stone is. Coarse grits are used for initial sharpening, while finer grits are used for honing and polishing the blade.
Before you begin sharpening your knife, gather the following tools:
- Whetstone: Choose a dual-sided whetstone with coarse and fine grits.
- Water: For soaking the stone and creating a slurry during sharpening.
- Towel: To wipe the knife and stone.
- Cutting Board: To provide a stable surface while sharpening.
Start by soaking your whetstone in water for about 10 to 15 minutes. This helps to create a slurry that aids in the sharpening process. If your stone is oil-based, use honing oil instead of water.
The angle at which you hold the knife while sharpening is crucial. For most kitchen knives, a 15 to 20-degree angle is ideal. You can use a guide or simply estimate the angle by visualizing it.
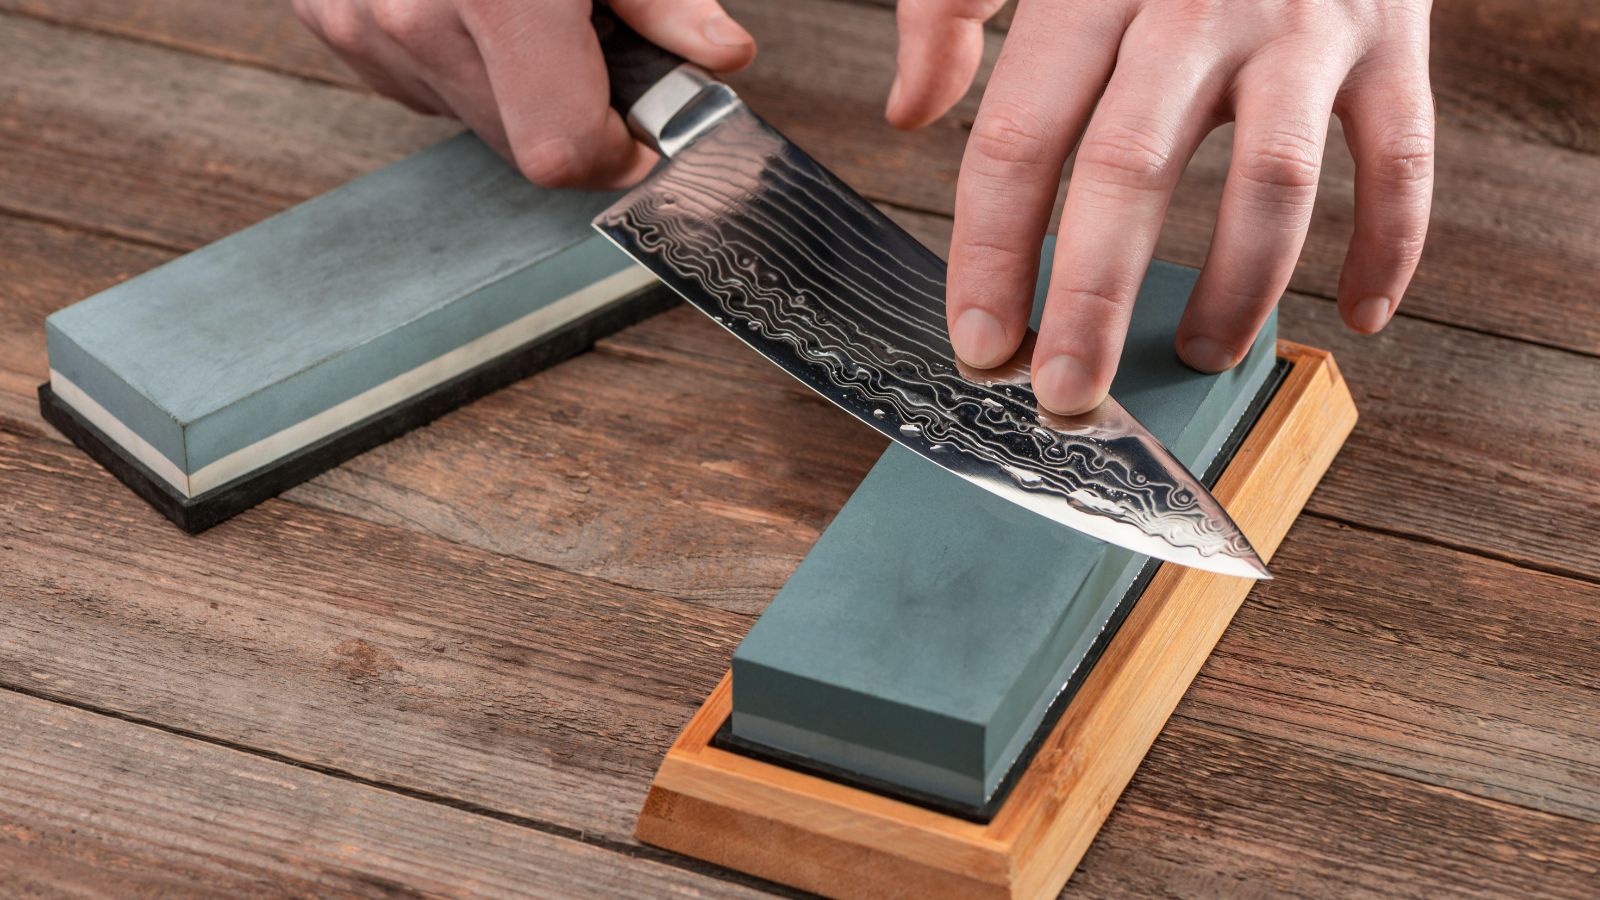
Begin sharpening with the coarse side of the whetstone. Hold the knife firmly and place the blade against the stone at the determined angle.
1. Position the Knife: Place the heel of the blade on the stone.
2. Draw the Blade: Push the knife away from you, gliding the entire length of the blade across the stone. Apply moderate pressure.
3. Repeat: Perform this motion 5 to 10 times on one side of the blade, then switch to the other side.
As you sharpen, the combination of the stone and the metal from the blade will create a slurry. This slurry helps to sharpen the knife more effectively. If the stone becomes dry, add a few drops of water to keep it lubricated.
Once you have established a good edge with the coarse grit, flip the whetstone to the fine side. Repeat the sharpening process, using the same angle and technique. This step polishes the edge and refines the blade.
After sharpening, test the knife's sharpness by slicing through a piece of paper or a tomato. A sharp knife should cut cleanly without tearing.
After sharpening, rinse the knife under running water to remove any metal shavings. Wipe the whetstone with a damp cloth to clean it, and allow it to dry completely before storing.
- Consistency is Key: Maintain a consistent angle throughout the sharpening process for even results.
- Use Light Pressure: Avoid applying too much pressure, as this can damage the blade and the stone.
- Practice Regularly: Regular sharpening will help you become more comfortable with the technique and improve your skills.
1. Using a Dull Stone: Ensure your whetstone is in good condition. A worn-out stone will not sharpen effectively.
2. Neglecting to Soak the Stone: Always soak your whetstone before use to create a proper slurry.
3. Sharpening at the Wrong Angle: Maintaining the correct angle is crucial for effective sharpening.
Once you have mastered the basics of sharpening with a whetstone, you can explore more advanced techniques to further enhance your skills.
As you become more experienced, you may want to invest in a range of whetstones with varying grits. This allows you to refine your sharpening process:
- Coarse Grit (200-600): Ideal for repairing damaged edges and reshaping blades.
- Medium Grit (1000-3000): Suitable for regular sharpening and maintaining a sharp edge.
- Fine Grit (4000-8000): Used for polishing and honing the blade to a razor-sharp finish.

Instead of the traditional back-and-forth motion, some experienced sharpeners prefer a circular motion. This technique involves moving the knife in small circles while maintaining the angle against the stone. This can help achieve a more refined edge.
For those who struggle to maintain the correct angle, using a sharpening guide can be beneficial. These guides attach to the knife and help keep the blade at the desired angle while sharpening.
Sharpening a kitchen knife with a stone is a valuable skill that enhances your cooking experience. By following the steps outlined in this guide, you can maintain your knives in top condition, ensuring they remain sharp and effective for all your culinary tasks. Regular practice will improve your technique and confidence, making you a more proficient cook.
1. How often should I sharpen my kitchen knife?
- It depends on usage, but generally, sharpening every few weeks to months is recommended.
2. What grit whetstone should I use for sharpening?
- A dual-sided whetstone with coarse (around 1000 grit) and fine (around 6000 grit) sides is ideal for most kitchen knives.
3. Can I use oil instead of water on my whetstone?
- Yes, some whetstones are designed for oil, but ensure you use the appropriate lubricant for your specific stone.
4. What is the best way to maintain my knife's sharpness?
- Regularly hone your knife with a honing rod and sharpen it as needed to maintain its edge.
5. Is it safe to sharpen a knife?
- Yes, as long as you follow proper techniques and safety precautions, sharpening a knife can be done safely.


